D651WEY

A place to showcase your pride and joy

Moderators: eastlmark, BIG_MVS, Test Moderator

User avatar
User

mogster242

Rank

Non Member

Posts

556

Joined

Mon Apr 19, 2010 9:13 pm

Location

Bournemouth


Has thanked: 20 times
Been thanked: 6 times

Postby mogster242 » Fri Jan 11, 2013 11:03 pm

After a few weeks of inactivity, got back to it last night,

more stripping,

Image

Image

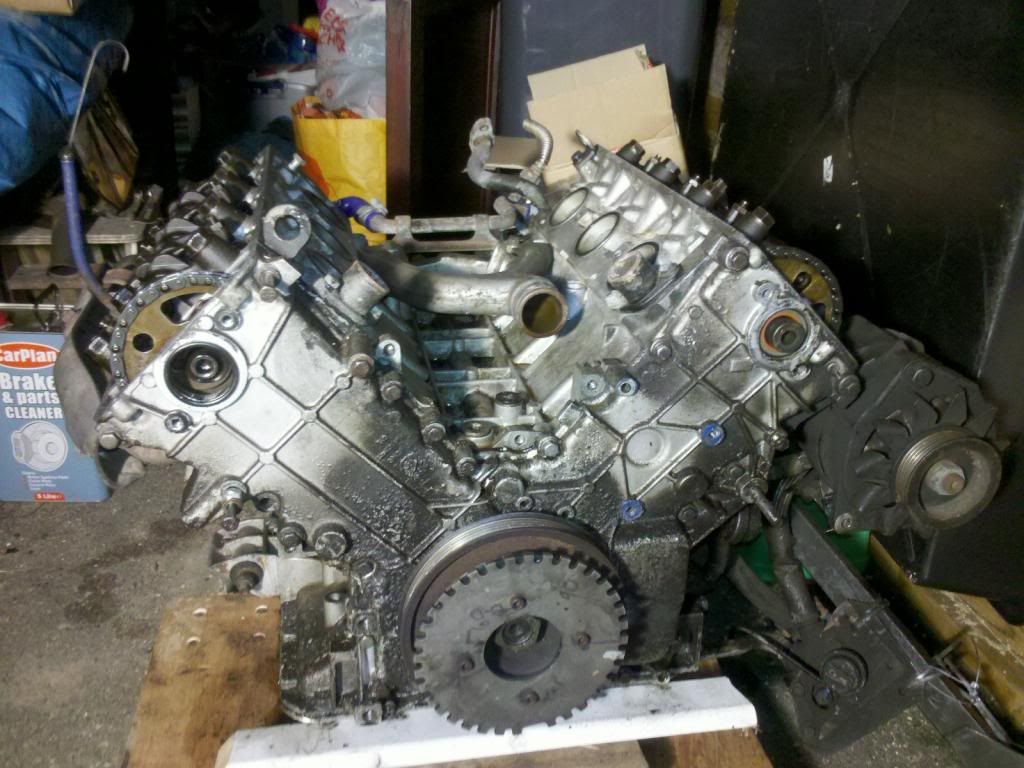
now cant crack that crankshaft nut :evil: :evil: need to go to the gym :lol:

need to remove it to change the chain cover seal...

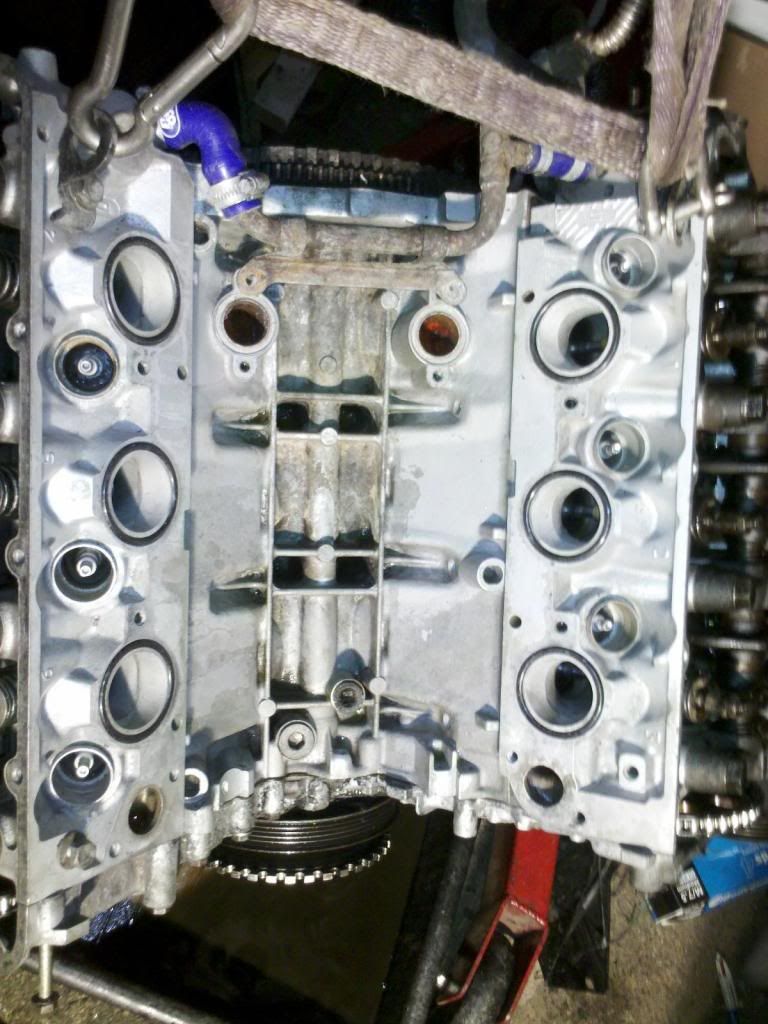
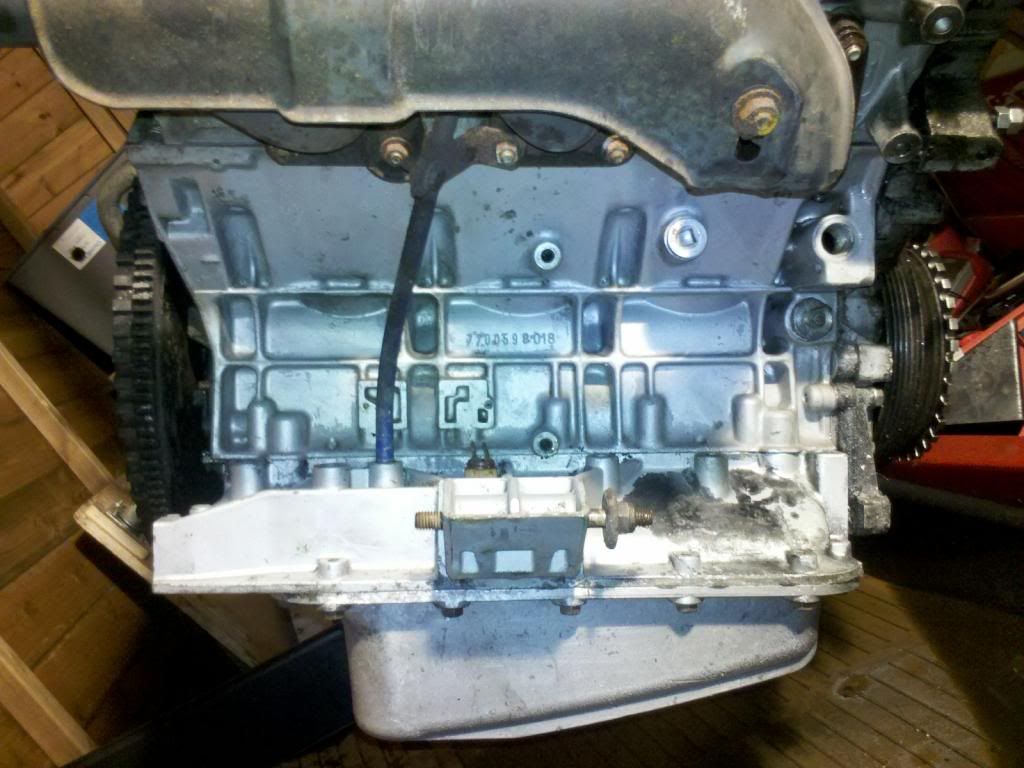
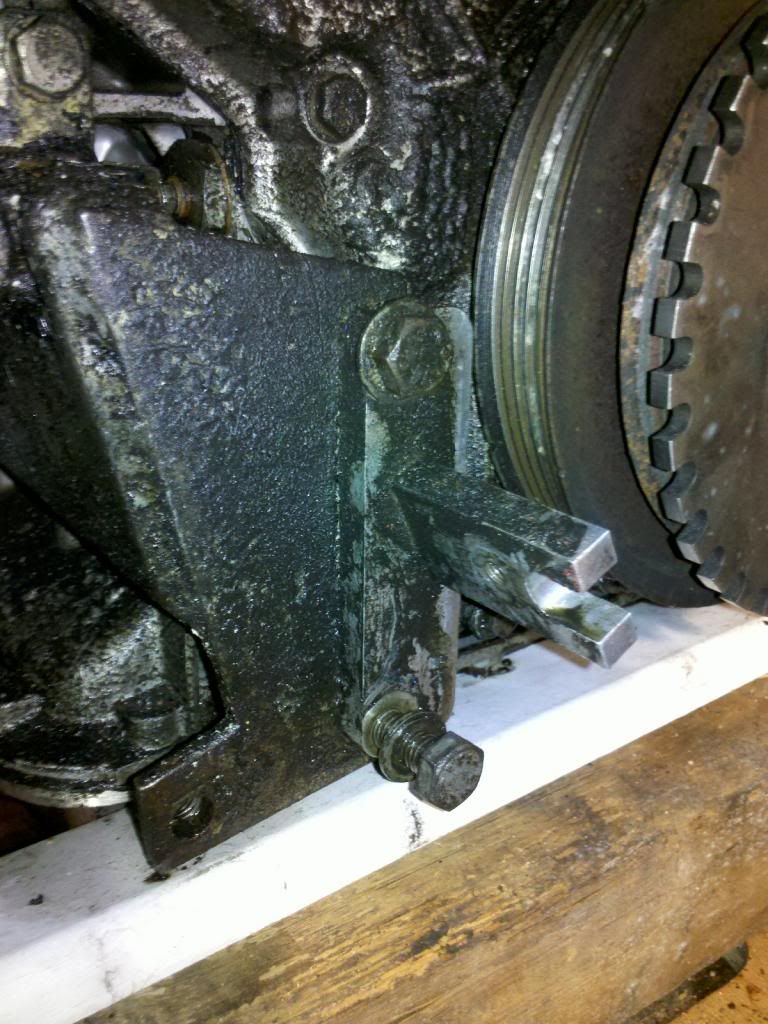
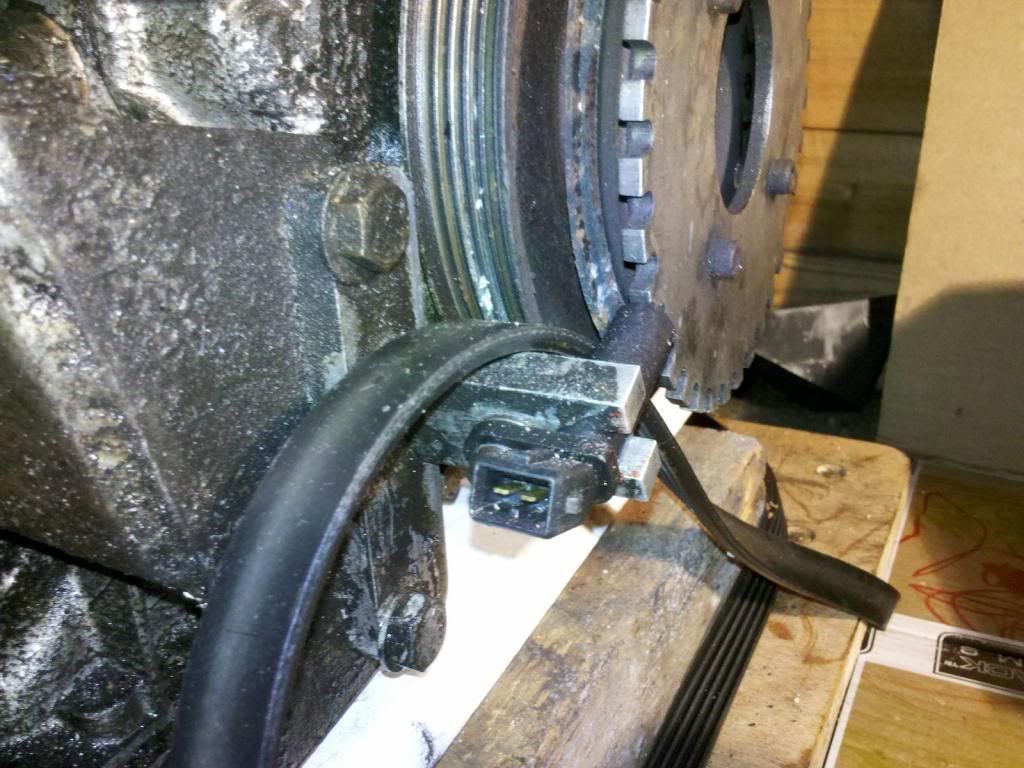
does anybody know what is the purpose of this part?

Image

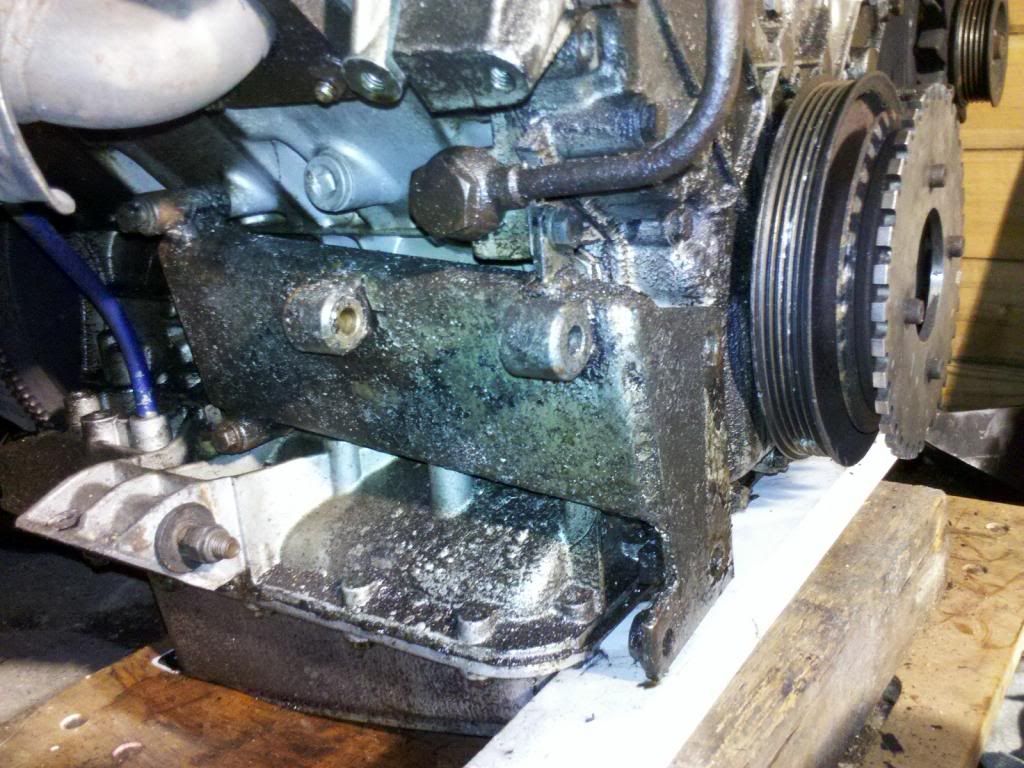
the tdc sensor bracket is mounted on it but it cant be its sole purpose? it awfully big and heavy for a spacer...

Image

Image

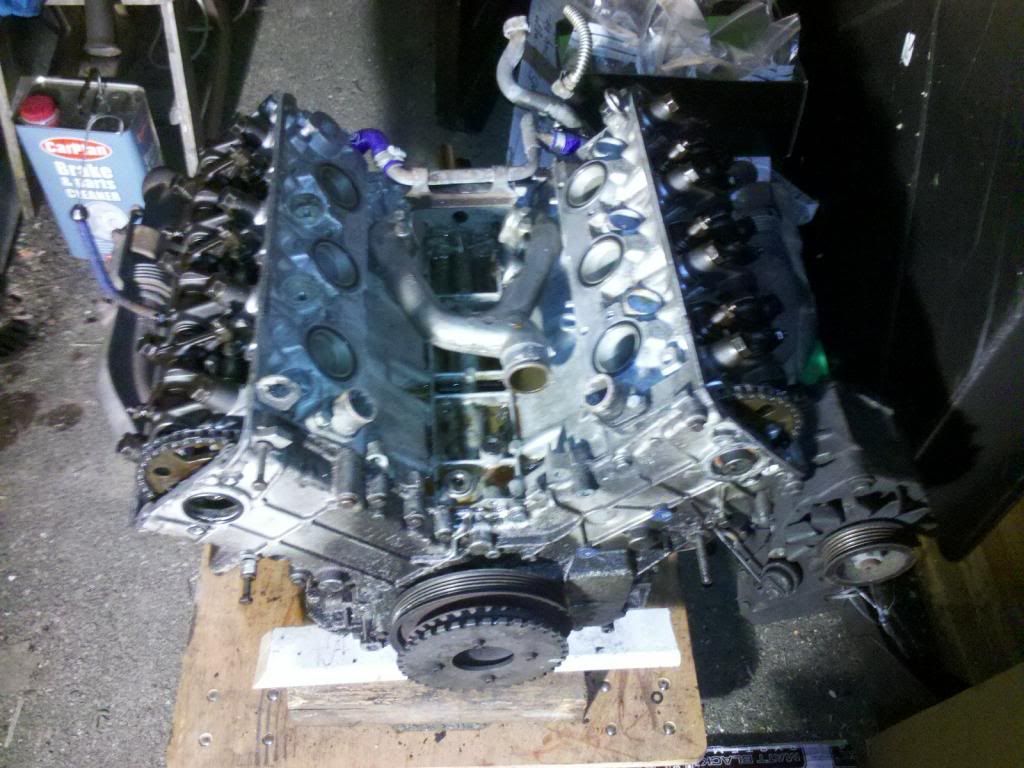
tomorrow the cleaning will start, lets get dirty :twisted:

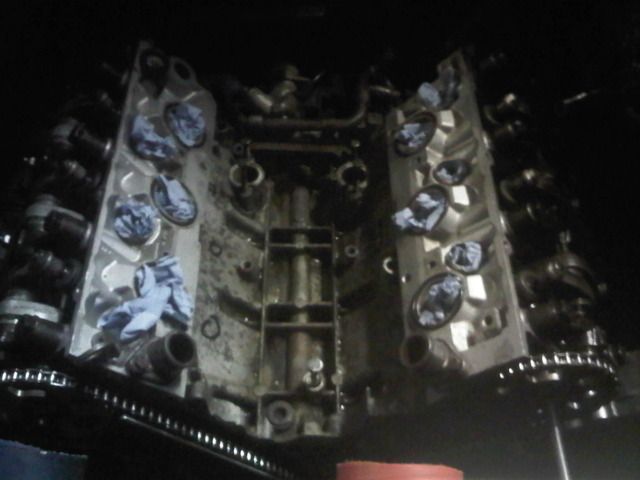
any advice on how to clean the plug holes?
1989 GTA V6 Turbo Grey
Megane R26 F1
Clio 197
User avatar
User

mogster242

Rank

Non Member

Posts

556

Joined

Mon Apr 19, 2010 9:13 pm

Location

Bournemouth


Has thanked: 20 times
Been thanked: 6 times

Postby mogster242 » Fri Jan 11, 2013 11:13 pm

MFaulks wrote:Hi Cedric,

Now, glass bead &/or sand cleaning and engine builds isn't a great idea, best off with walnut shell (breaks down and is harmless to engine internals)... glass and sand gets lodged in all sorts of awkward to clean places, surface cracks and even in the grain structure / surface of the metal depending your gun pressure, and then comes out later in the oil with the thermal cycling - hot / cold. So I strongly suggest you get scrubbing, hot soapy washing, and then pressure wash. Please don't use glass or sand, word to the wise...


I see you have the early heavy rocker arms, you will need to change these to the later alloy type, so best get chatting to the usual sources, I’m sure some one will be able to help you out on those.

Cheers,
Martin


took your advice and got some paint stripper, not going so well so far.... surely this works wonders on flat surfaces but all those ribs and funny features make it a pain of a job... :evil: guess i will be getting a tub of gunwash and soak it for couple of days that will remove the paint allright...


still no luck with rocker arms... :(
1989 GTA V6 Turbo Grey
Megane R26 F1
Clio 197
no avatar
User

MFaulks

Rank

Non Member

Posts

1552

Joined

Sun Sep 28, 2008 4:25 pm


Has thanked: 45 times
Been thanked: 26 times

Postby MFaulks » Sat Jan 12, 2013 12:29 am

.
Bracket- probably an aircon compressor mount bracket? CLee would be able to confirm. What ever you substitute make it substantial, you need to mount the sensor robustly, as flex with vibration or resonance in the mount, will result in your ignition timing accuracy being all over the place - not good for a competition motor.. The best sense position is off the flywheel teeth with the OE sensor, and further is the most accurate for various reasons that I'll happily tell you separately. Timing disk off the nose of the crank is never the best option, period... Anyway, if you look at how Stunned Monkey modifies the OE flywheel by milling the double solid tooth into two (search on here or ask him), you can then use the OE sensor directly with your existing Adaptronic unit. Hence, ditching the whole timing disk setup; it was only that the early Adaptronic unit didn't recognise the Renix pattern that most people using it (ecu) went to the disk and problematic sensor (getting the right air gap and repeatable trigger). But as your flywheel is coming off, mill the slot as Stunned has done quite successfully several times now, and you can set yourself up with a much better, more stable and accurate system... That would be my approach anyway.

Martin
... A diamond is only a piece of coal that did well under pressure... PRV afflicted, may be I need to squeeze harder!!!!

https://www.facebook.com/maftecfaulks
User avatar
User

Miles

Rank

Non Member

Posts

725

Joined

Thu Apr 14, 2005 9:06 am

Location

Hampshire


Has thanked: 34 times
Been thanked: 10 times

Postby Miles » Sat Jan 12, 2013 12:48 am

Yeh it's my air con bracket.
I have the pump to fit if your interested. Gearbox too
User avatar
User

Miles

Rank

Non Member

Posts

725

Joined

Thu Apr 14, 2005 9:06 am

Location

Hampshire


Has thanked: 34 times
Been thanked: 10 times

Flywheel

Postby Miles » Sat Jan 12, 2013 12:52 am

Regarding flywheel, according to. Recent post by lee you can now use the original flywheel without modifications, I.e no need to cut new teeth.

Dave
User avatar
User

jon_viola

Rank

Non Member

Posts

1159

Joined

Sun Oct 22, 2006 8:45 pm

Location

Sussex


Has thanked: 4 times
Been thanked: 7 times

Postby jon_viola » Sat Jan 12, 2013 9:06 am

Whatever you do please don't throw away that a/c pump bracket!!

They are almost impossible to find now. The European cars had a completely different set up for a/c so these parts are only for the UK cars. When I was recommissioning my set up it almost stopped me in my tracks.

Perhaps if you don't want it it could be passed to the club somehow to be held and copied as necessary?

BTW looking like a great project :D :D
1989 GTA Turbo
2003 Mercedes E320 CDI Estate- A.K.A Badke Bus

www.badkequartet.co.uk
no avatar
User

MFaulks

Rank

Non Member

Posts

1552

Joined

Sun Sep 28, 2008 4:25 pm


Has thanked: 45 times
Been thanked: 26 times

Re: Flywheel

Postby MFaulks » Sat Jan 12, 2013 9:24 am

Miles wrote:Regarding flywheel, according to. Recent post by lee you can now use the original flywheel without modifications, I.e no need to cut new teeth.

Dave


Yes that's correct if you buy the new Adap ecu, but he has your old one, so no point is there... just slot the flywheel and he's good to go with what he has already bought... :wink:

If you search on "Scoff", this will be the fastest way of finding the flywheel mod and Adaptronic discussion, you will see Stunned's picture and explanation; it's Stunned's post though you are looking for. If you can't find it, shout, as I will quickly enough, but it's a pretty simple mod that you can get your local machine shop to do.

Martin
... A diamond is only a piece of coal that did well under pressure... PRV afflicted, may be I need to squeeze harder!!!!

https://www.facebook.com/maftecfaulks
User avatar
User

mogster242

Rank

Non Member

Posts

556

Joined

Mon Apr 19, 2010 9:13 pm

Location

Bournemouth


Has thanked: 20 times
Been thanked: 6 times

Postby mogster242 » Sat Jan 12, 2013 11:47 pm

MFaulks wrote:.
Bracket- probably an aircon compressor mount bracket? CLee would be able to confirm. What ever you substitute make it substantial, you need to mount the sensor robustly, as flex with vibration or resonance in the mount, will result in your ignition timing accuracy being all over the place - not good for a competition motor.. The best sense position is off the flywheel teeth with the OE sensor, and further is the most accurate for various reasons that I'll happily tell you separately. Timing disk off the nose of the crank is never the best option, period... Anyway, if you look at how Stunned Monkey modifies the OE flywheel by milling the double solid tooth into two (search on here or ask him), you can then use the OE sensor directly with your existing Adaptronic unit. Hence, ditching the whole timing disk setup; it was only that the early Adaptronic unit didn't recognise the Renix pattern that most people using it (ecu) went to the disk and problematic sensor (getting the right air gap and repeatable trigger). But as your flywheel is coming off, mill the slot as Stunned has done quite successfully several times now, and you can set yourself up with a much better, more stable and accurate system... That would be my approach anyway.

Martin


will do just that :wink: that will also save me the headache of marking up and setting the right orientation of the front pulley :D
1989 GTA V6 Turbo Grey
Megane R26 F1
Clio 197
User avatar
User

mogster242

Rank

Non Member

Posts

556

Joined

Mon Apr 19, 2010 9:13 pm

Location

Bournemouth


Has thanked: 20 times
Been thanked: 6 times

Postby mogster242 » Sat Jan 12, 2013 11:48 pm

jon_viola wrote:Whatever you do please don't throw away that a/c pump bracket!!

They are almost impossible to find now. The European cars had a completely different set up for a/c so these parts are only for the UK cars. When I was recommissioning my set up it almost stopped me in my tracks.

Perhaps if you don't want it it could be passed to the club somehow to be held and copied as necessary?

BTW looking like a great project :D :D


Thanks :D

so a/c bracket coming off, that's couple of kg saved :D if anybody is interested please get in touch
1989 GTA V6 Turbo Grey
Megane R26 F1
Clio 197
User avatar
User

mogster242

Rank

Non Member

Posts

556

Joined

Mon Apr 19, 2010 9:13 pm

Location

Bournemouth


Has thanked: 20 times
Been thanked: 6 times

Postby mogster242 » Sat Jan 12, 2013 11:50 pm

that's on clean Vee :D :D :D :D :D

Image

and a clean block (well one side :lol: )

Image
1989 GTA V6 Turbo Grey
Megane R26 F1
Clio 197
User avatar
User

The Saint

Rank

Administrator

Posts

1128

Joined

Thu Sep 08, 2011 11:55 am

Location

Rugby Warwickshire


Has thanked: 57 times
Been thanked: 45 times

Postby The Saint » Sun Jan 13, 2013 10:15 am

Mr Mogster242, PLEASE... I am starting the hunt for parts to do the A/C on my GTA, so let me know what you want for the bracket...
Mr Miles if you have the compressor, IM with a price... this will save me allot of head ache.
I know this is going to be like searching for the holy grail, on these parts, but I have to start some where....
Anyone reading this in the club that has ANY A/C parts for a GTA, Please IM me..
Thanks..
Vince..
The Saint.
Blue A610,
Black Smart Roadster.
SmartEDElectric Drive
User avatar
User

clee

Rank

Non Member

Posts

10431

Joined

Fri May 28, 2004 11:58 am

Location

Derbyshire


Has thanked: 54 times
Been thanked: 104 times

Postby clee » Sun Jan 13, 2013 12:21 pm

Talk to JonV ...He has been through it all
no avatar
User

MFaulks

Rank

Non Member

Posts

1552

Joined

Sun Sep 28, 2008 4:25 pm


Has thanked: 45 times
Been thanked: 26 times

Postby MFaulks » Sun Jan 13, 2013 2:06 pm

.
Cedric,

You mentioned plug holes, are you talking general debris or something else? If the plugs are still in, blow them out with compressed air.. or vac with a tube.. what ever you have.. Do it before you pull the plugs, or the crud will just fall in to the cylinder... talking of which, you need to plug up your intakes (and plug holes if you take the plugs out) with rag or towel etc or you will be dropping something in there, and worst into one of the cylinders... been there many moons ago and you don't forget the pain...

Image

Another thing whilst you are on your wash and go cycle, have you pulled the two water drain plugs (either side of the block) and made sure there wasn't a load of crud in there, and then also back-flush out the block? If you haven't, then best wait now until you have it canned and sealed back up; just a thought. :wink:

Regards,
Martin
... A diamond is only a piece of coal that did well under pressure... PRV afflicted, may be I need to squeeze harder!!!!

https://www.facebook.com/maftecfaulks
User avatar
User

jon_viola

Rank

Non Member

Posts

1159

Joined

Sun Oct 22, 2006 8:45 pm

Location

Sussex


Has thanked: 4 times
Been thanked: 7 times

Postby jon_viola » Sun Jan 13, 2013 2:20 pm

clee wrote:Talk to JonV ...He has been through it all


Drop me a line Vince if you need anything!!
1989 GTA Turbo
2003 Mercedes E320 CDI Estate- A.K.A Badke Bus

www.badkequartet.co.uk
User avatar
User

clee

Rank

Non Member

Posts

10431

Joined

Fri May 28, 2004 11:58 am

Location

Derbyshire


Has thanked: 54 times
Been thanked: 104 times

Postby clee » Sun Jan 13, 2013 3:04 pm

Plug all your holes Ced
PreviousNext


  • Advertisement

Who is online

Users browsing this forum: No registered users and 118 guests

Powered by phpBB ® | Renault' and 'Alpine' are trademarks of Renault S.A.S. or its subsidiaries and are used with kind permission of Renault France