
Moderators: eastlmark, BIG_MVS, Test Moderator
Administrator
1128
Thu Sep 08, 2011 11:55 am
Rugby Warwickshire
Non Member
1147
Sun Oct 15, 2006 8:56 pm
Bedfordshire
The Saint wrote:It is quite easy.... just look at your old lining and see if it is worth saving... if not then look for a material that you think will work for you...
I often buy my interior material from woolies.. No not that one... this one
http://www.woolies-trim.co.uk/
Buy some thin backing foam and the lining of your choice...
They do a great mail order, and they can also supply the heat proof glue.. which is VERY important.
Now to start the work....
Remove all the trim, around the roof lining, the sun visors and light, taking great care NOT to snap the little burrs of plastic that hold the light lens in place..
Pull off the old lining and the backing sponge, that will now be more like a power!! Once you have all this removed.. and I mean ALL the loose stuff, vacuumed the car out, then I would recommend you buy the aerosol glue and spray a good layer on the roof..(Try not to get any on the seats etc) let this dry... ( Don't worry too much about the old glue, just as long as it is solid and not flaky etc... )
Now with the old lining, use this as a template and cut out a section of thin foam for a backing, and then again for the material for the lining. make sure it is a little bit larger than the original, so you can trim off later.
Spray a layer of glue on the back of the new lining material, and the face of the foam, and allow to dry.
This is when things become fun!!! I would advise someone else to help you here, as once the two parts of the glue touch, there is no going back and no movement. I would lay the foam on something clean on the floor, Glue side up, and get you and a friend to hold the lining above the foam, and slowly lower it down onto the foam, so that both glued sides meet. Once in contact, gently from the centre of the panel and rub outward pressing it down to make a good join.
Ok so far so good! Now flip it over and spray the back of the foam and let dry..
Now when you go to put this in the car, you have very little room and you cannot adjust it once it makes contact.. so I sort of folded the new panel in half so I had an edge that was going to run down the centre of the roof and used the ariel hole as that reference. I them placed the new lining up to the front and then back to the rear window working from the middle of the roof.. This is very tricky and space is limited but once the centre is up you can open out the panel and rub it out flattening it out against the roof.. once it is all open and pressed together, you can trim off any excess.. then replace all the trim, and Vola! Job done!!!!
I wish I had taken more photos but as many of you know, once you get into a job, you sort of forget to take pictures, plus you really don't want to see a picture of me doing yoga inside the car trying to fit the lining....
I hope this sort of helps.. again any questions please ask..
Administrator
1128
Thu Sep 08, 2011 11:55 am
Rugby Warwickshire
Administrator
1128
Thu Sep 08, 2011 11:55 am
Rugby Warwickshire

Non Member
902
Sat Nov 14, 2009 9:30 pm
Gloucester

Non Member
88
Sat Jun 04, 2011 9:50 pm
Llandegla
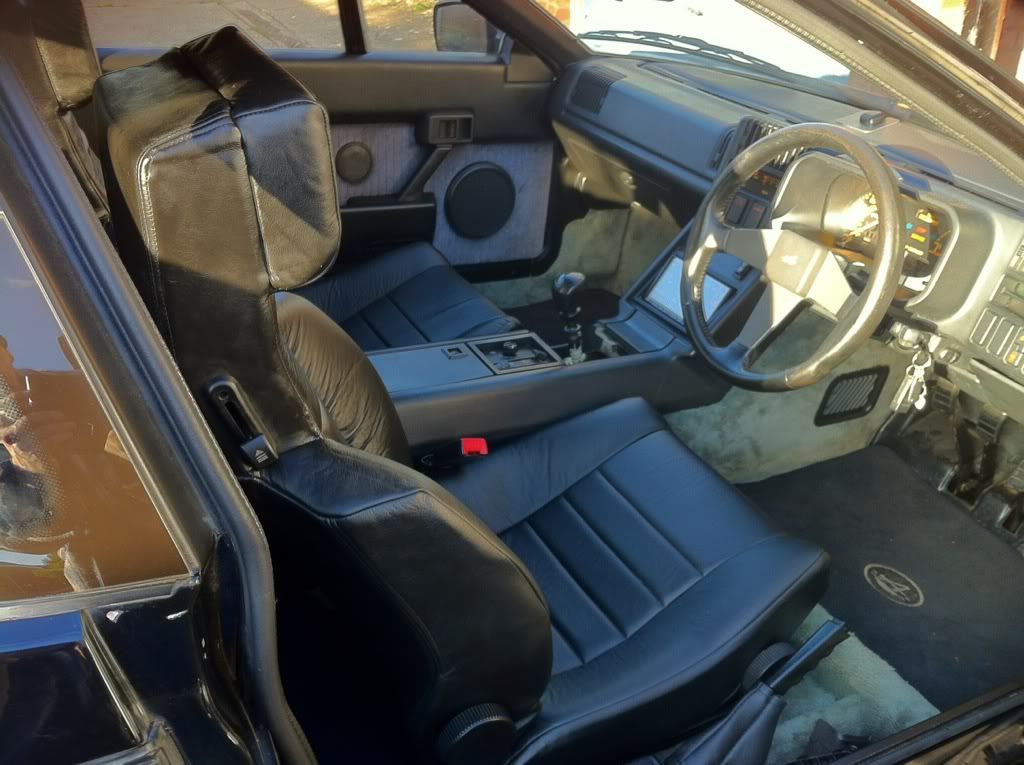
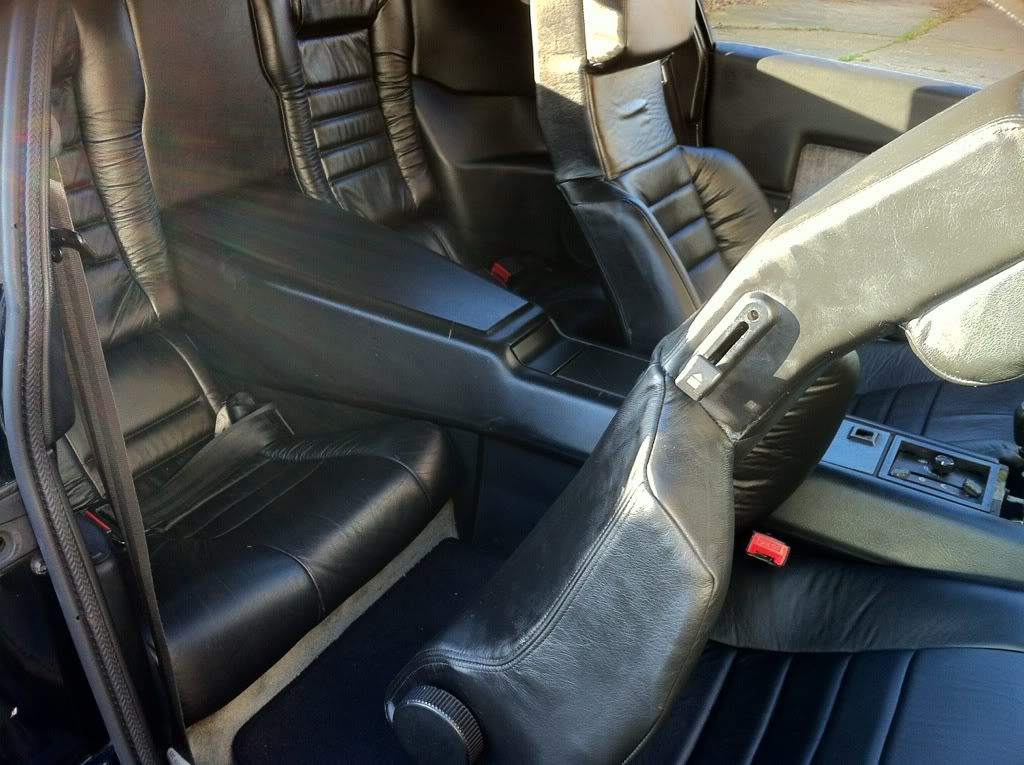
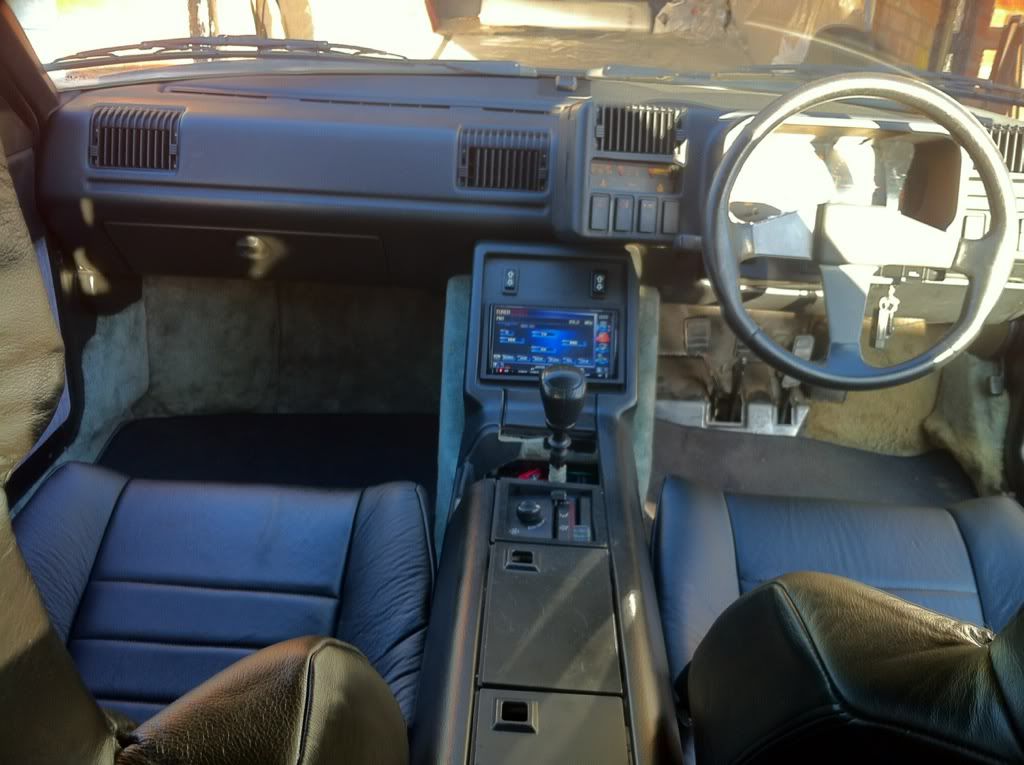
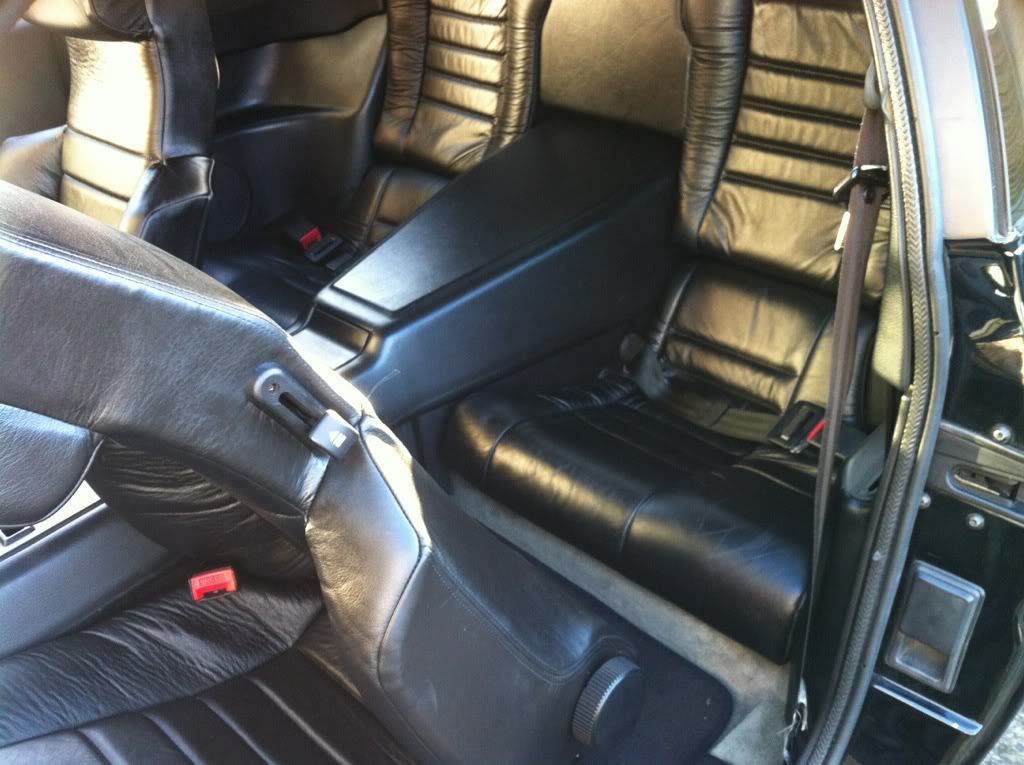
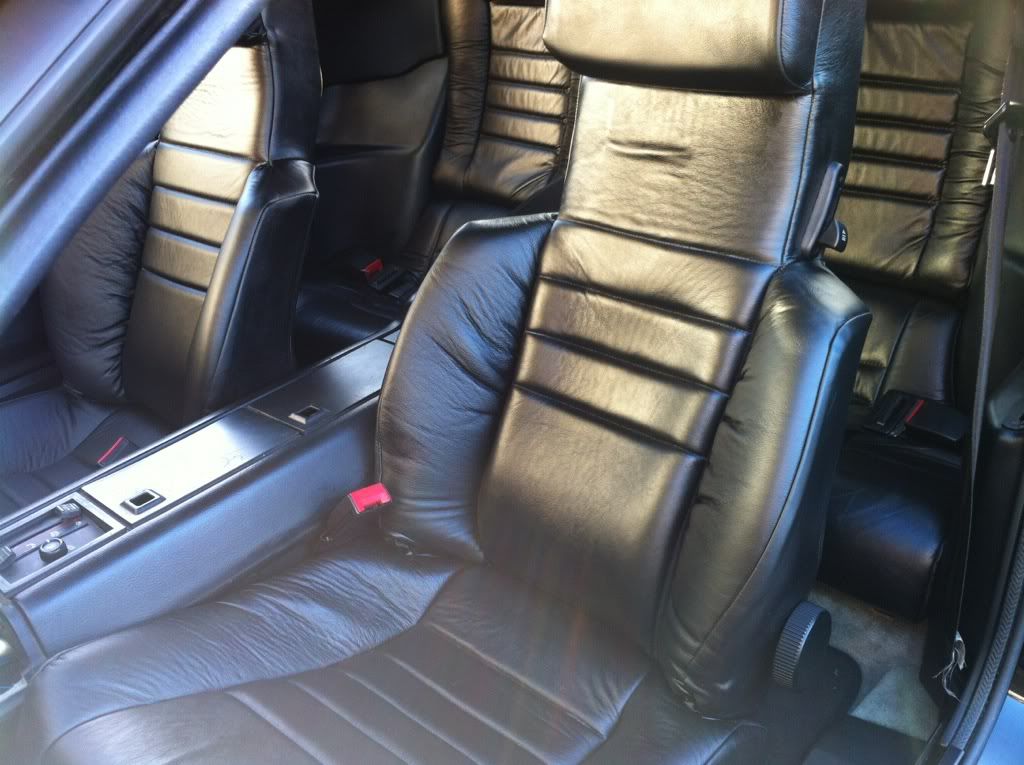
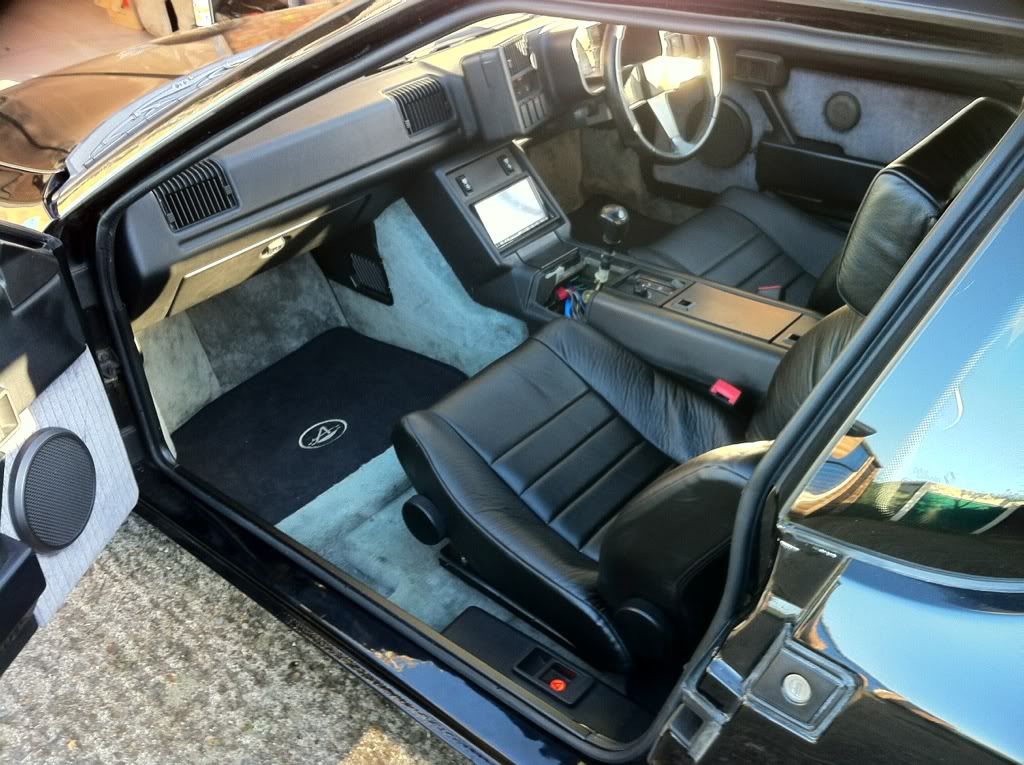
The Saint wrote:These pics are just for Martin, as we did a deal on these today, and just wanted to show them on the car for him..
Before...
http://i1191.photobucket.com/albums/z46 ... 0636-1.jpg
After...
http://i1191.photobucket.com/albums/z46 ... G_0457.jpg
http://i1191.photobucket.com/albums/z46 ... G_0462.jpg
http://i1191.photobucket.com/albums/z46 ... G_0463.jpg
And for those keen spotters out there... The drivers seat is stripped while I make a template from the old cover, and make a new one...
http://i1191.photobucket.com/albums/z46 ... G_0450.jpg
Will let you see the end result once done.
Thanks again Martin....
Administrator
1128
Thu Sep 08, 2011 11:55 am
Rugby Warwickshire

Administrator
1128
Thu Sep 08, 2011 11:55 am
Rugby Warwickshire

Users browsing this forum: No registered users and 74 guests